RV Winterization Services in Great Falls, MT
RV Winterization Services
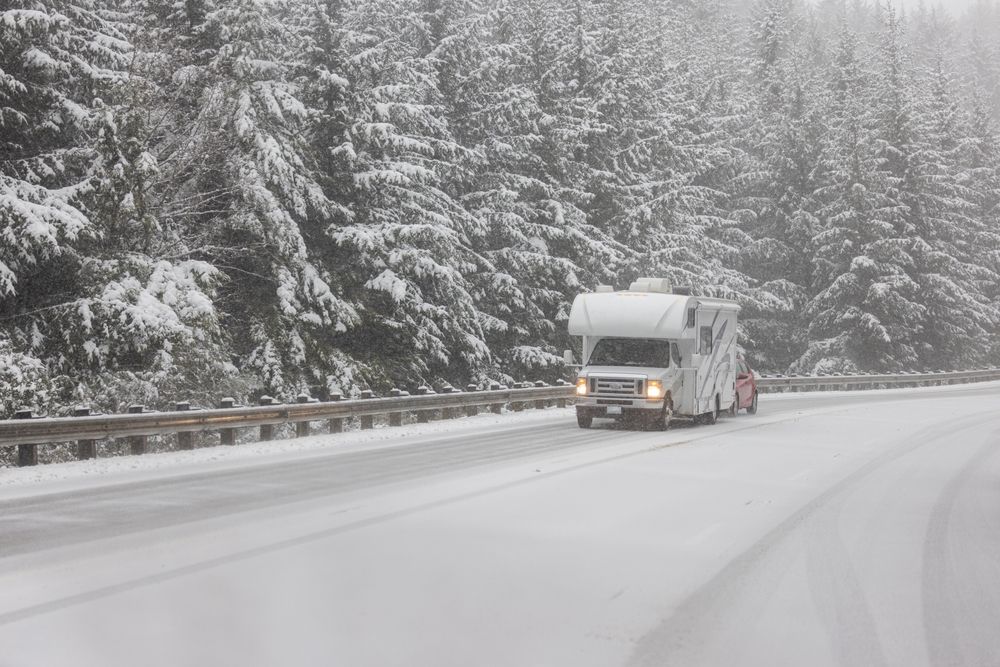
As the cold weather approaches, RV owners in Great Falls, MT, know the importance of winterizing their RVs to prevent costly repairs and ensure their vehicle is ready for the next camping season. Fleet Truck & RV Repair offers comprehensive RV winterization services, ensuring your RV is properly protected from freezing temperatures. Whether you’re a seasoned RV owner or winterizing your RV for the first time, this guide explains the winterization process, step by step, and highlights the importance of each aspect.
Why Winterize Your RV?
Winterizing your RV is essential to protect its plumbing system, water heater, and holding tanks from freezing temperatures. Water left in the pipes, tanks, or water heater can freeze, expand, and cause severe damage to your RV’s plumbing system. This can result in costly repairs or even the replacement of entire components, such as the water heater or water pump.
By taking the time to winterize your RV, you’ll prevent freezing water from damaging your pipes and holding tanks, and you’ll ensure that your RV is ready for the next camping season without any issues.
The Step-by-Step RV Winterization Process
Step 1: Drain All the Water from the RV
Before you begin adding RV antifreeze, it’s essential to drain all the water from your RV. Start by draining the freshwater tank, gray water tanks, and black water tank. Make sure to open the low point drains to allow the water to flow out completely. Don’t forget about the water heater tank and hot water heater—these also need to be fully drained.
Most RVs have low point drain plugs at the lowest part of the plumbing system, which helps with the draining process. You should also drain the outdoor shower if your RV is equipped with one.
Step 2: Flush the Holding Tanks
After draining all the tanks, flush the black water tank and gray water tanks to remove any remaining residue. Use a cleaning wand or a special tool designed for thorough cleaning. This step is essential to avoid unpleasant smells and buildup during storage.
Step 3: Drain the Water Heater
Your RV’s water heater must be drained completely before the winter months. Begin by turning off the water heater’s heating element, then remove the drain plug or anode rod to allow the water to drain. Be sure to release the pressure relief valve to help water flow out smoothly. Double-check that the water heater is fully drained before proceeding to the next step.
Step 4: Bypass the Water Heater
Using a water heater bypass kit is crucial during the winterization process. The bypass kit prevents RV antifreeze from entering the water heater tank, saving you from filling the entire tank with antifreeze. If your RV doesn’t already have a bypass kit, this is a valuable addition that Fleet Truck & RV Repair can install for you.
Step 5: Blow Out the Water Lines (Optional)
Some RV owners prefer to use an air compressor to blow out the remaining water from the water lines before adding RV antifreeze. This step helps ensure that all the water is removed from the plumbing system, including the pipes, faucets, and the city water connection.
If you choose to use an air compressor, make sure to follow your RV owner’s manual for the recommended pressure level. It’s essential not to exceed the recommended water pressure to avoid damaging the plumbing system.
Step 6: Add RV Antifreeze
Now it’s time to add RV antifreeze to your plumbing system. RV antifreeze is non-toxic and specifically designed for RVs, ensuring that your pipes, tanks, and water lines are protected from freezing during the winter months. Here’s a step-by-step breakdown of the antifreeze process:
- Bypass the water heater if you haven’t already.
- Disconnect the water pump and connect it to a hose that’s submerged in RV antifreeze.
- Run antifreeze through the system by turning on the pump and opening the faucets one by one, starting with the cold faucets, then the hot faucets. Make sure antifreeze flows out of each faucet.
- Don’t forget about the toilet, outdoor shower, and city water connection. Run antifreeze through these as well.
- After antifreeze has been added to all water lines, pour a small amount into the p traps (located under sinks and in the shower) to ensure they don’t freeze.
Step 7: Final Checks
Double-check that all water lines, faucets, and the toilet are filled with antifreeze. Inspect the low point drain plugs, holding tanks, and the water heater to confirm that everything is properly drained and winterized.
Additional Winterization Tips
Protecting the Water Pump
During the winterizing process, it’s important to protect your RV’s water pump from freezing. Running antifreeze through the water pump ensures it’s protected during freezing temperatures. If your RV has a water pump bypass kit, it will help with this step. If not, Fleet Truck & RV Repair can assist in installing one.
Cleaning the Hot Water Heater and Water Heater Tank
A thorough cleaning of your RV’s hot water tank and water heater is essential before winterizing. Sediment and minerals can build up over time, especially around the water heater’s heating element. Cleaning the water heater tank ensures it runs efficiently when you de-winterize your RV in the spring.
Protecting the RV’s Exterior
While most of the focus is on winterizing the plumbing system, don’t forget about your RV’s exterior. Inspect the seals and roof for any cracks or areas where water could enter. Protecting the RV’s exterior during the winter months is just as important as maintaining the interior.
Storage Considerations
If possible, store your RV in a covered or enclosed space to shield it from harsh winter elements. For those storing their RV outdoors, consider using an RV cover to protect it from snow, ice, and freezing temperatures.
Why Choose Fleet Truck & RV Repair for RV Winterization?
At Fleet Truck & RV Repair in Great Falls, MT, we understand the importance of properly winterizing your RV to prevent damage during the cold winter months. Our experienced technicians follow a step-by-step process to ensure that every aspect of your RV’s plumbing system is protected. From draining the water heater tank to adding RV antifreeze, we handle everything with care and attention to detail.
Our service center is equipped to handle any RV winterization needs, from installing water heater bypass kits to performing thorough cleanings of your RV’s plumbing system. We also offer services to inspect and repair your RV’s exterior, ensuring it’s ready for storage during the winter.

De-Winterizing Your RV in the Spring
When spring arrives and you’re ready to hit the road for the next camping season, Fleet Truck & RV Repair can help you de-winterize your RV. We’ll flush the RV antifreeze from the system, inspect the plumbing for any leaks, and prepare your RV for another season of adventures.
Final Thoughts
Winterizing your RV is an essential task that protects your investment and prevents costly repairs. By following the step-by-step process and using the right tools, such as a water heater bypass kit and RV antifreeze, you’ll ensure your RV is ready for freezing temperatures. Fleet Truck & RV Repair in Great Falls, MT, is here to help you winterize your RV with ease, so you can have peace of mind during the winter months.
Full-Service Shop
Schedule Your Estimate Today!
You Are Covered 24/7 Roadside Assistance